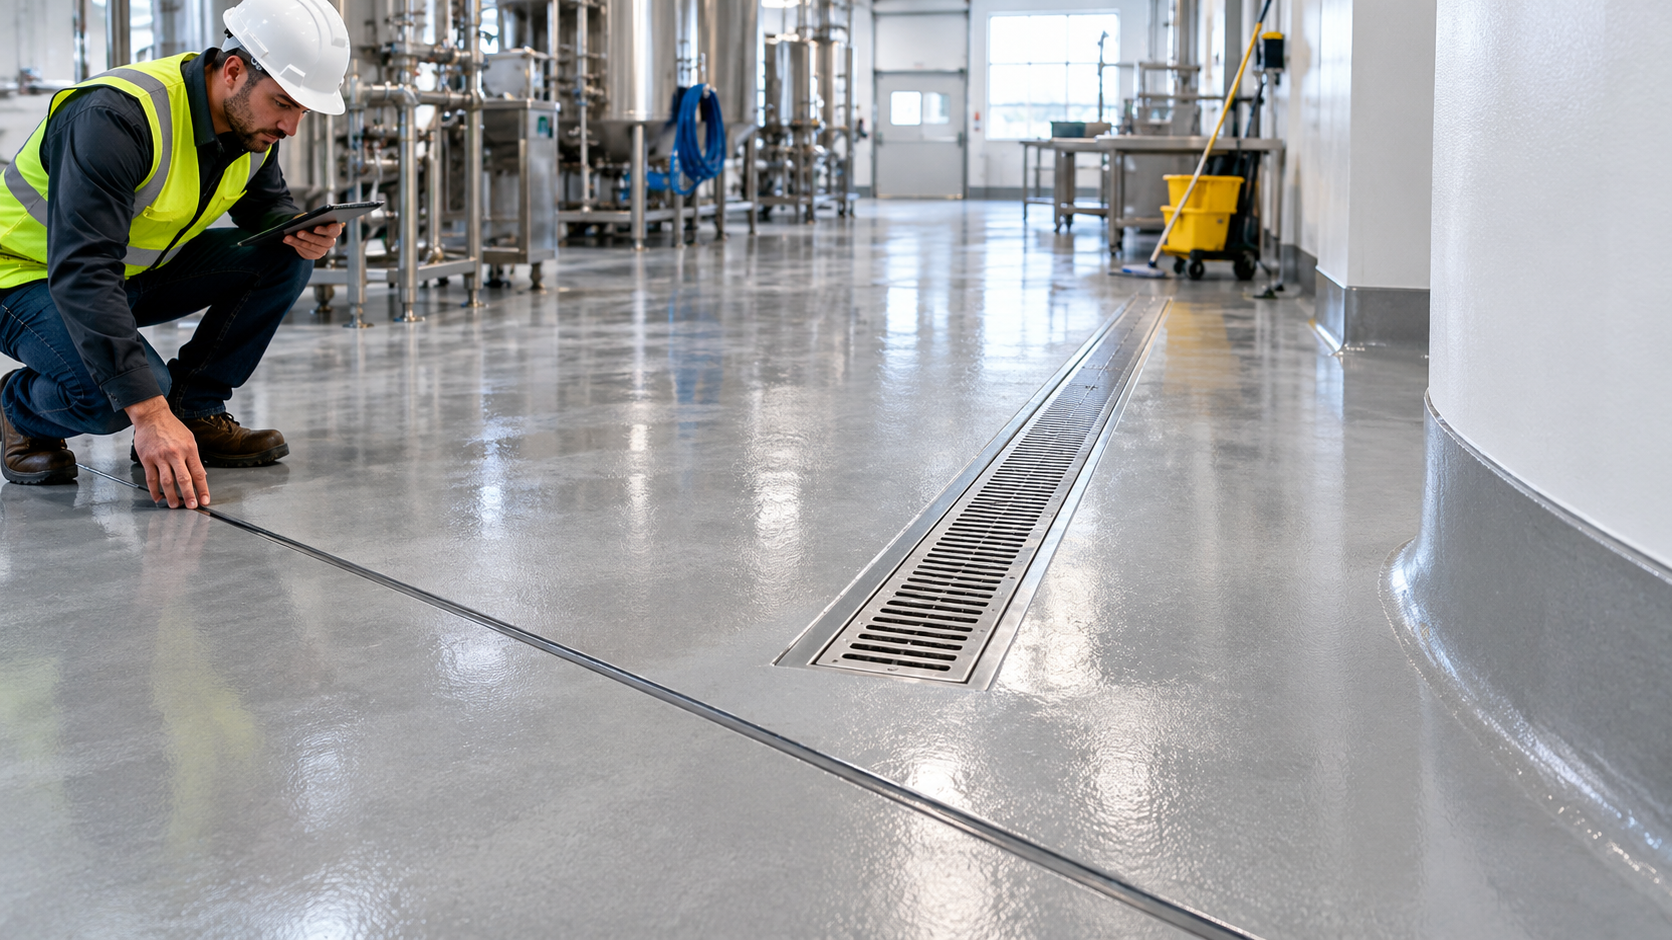
Most commercial floor failures become visible at an interruption: a joint edge, drain ring, doorway, column, curb, or wall transition. These locations concentrate movement, impact, water, and cleaning. A broad field of resin may perform well while details crack or release. The solution is not simply more coating. Each interruption needs a design that recognizes concrete movement, drainage, traffic, sanitation, and access.
A commercial epoxy flooring company should document these details during assessment rather than pricing only square footage. Commercial epoxy floors must accommodate or deliberately terminate at moving joints. A commercial epoxy floor coating around drains and cove bases also depends on sound edges, compatible fillers, correct slope, and a sequence that allows complete preparation.
This guide helps owners understand the questions behind durable details. Actual repairs and joint designs may require architects, engineers, concrete specialists, drain manufacturers, or coating manufacturers. A resinous installer should not be expected to redesign structural movement or drainage in the field without appropriate information and approval.
Classify Joints and Cracks Before Treatment
Locate construction, contraction, isolation, expansion, and other joints from drawings and field observation. Record width, depth, edge condition, filler, sealant, movement, and traffic. Identify random cracks separately and note whether they are stable, widening, wet, or vertically displaced. Names matter because a detail intended for a dormant crack may fail when applied across a moving joint.
The American Concrete Institute joint guidance explains that joints are intentional interruptions and that their spacing and construction affect durability. Fluids and contaminants can enter discontinuities, but eliminating visible joints with rigid resin does not eliminate movement. The team should decide which joints remain active, which can be filled for wheel support, and how coating terminates or bridges according to an approved system.
Remove failed filler and loose edges enough to evaluate the joint. Repeated wheel impact can round or spall shoulders, making a narrow line into a broader repair. Restore load-bearing edges with compatible materials before finish work. If one slab panel moves vertically relative to another, investigate support and load transfer rather than feathering coating across the lip.
Detail Drains and Trenches as Systems
Inventory drain body material, flange, grate, elevation, movement, corrosion, and connection to the slab. Confirm that the drain is permitted for the liquids entering it and that traps and piping function. A coating can improve the surrounding surface but cannot correct a blocked, undersized, or environmentally inappropriate drainage system.
Specify how resin ties into the drain. Termination may use a keyed recess, clamping flange, reinforced edge, or manufacturer detail. A thin feather edge at metal is vulnerable to impact and differential movement. Prepare corrosion and contamination appropriately. Coordinate grate removal, access, and replacement so the coating is continuous where intended without locking service components permanently in place.
Test slopes before installation and identify low areas. Resin follows existing contours unless a separate leveling or sloping layer is included. Adding slope can affect door clearances, equipment, racks, and drain height. Define tolerances and water-test procedures. A glossy surface may make ponding more visible, but visibility does not mean the coating caused the underlying geometry.
Design Cove Bases for Cleaning and Movement
Cove bases create a curved transition from floor to wall that can simplify cleaning in wet or sanitary areas. Specify height, radius, thickness, reinforcement, texture, and top termination. Determine whether the wall substrate is concrete, block, gypsum, tile, or another material. A cove bonded to weak paint or damp wallboard can fail even when the floor bond is sound.
Coordinate waterproofing and movement at wall-floor junctions. Some locations need flexible sealant or a separate membrane rather than a rigid cove across an active interface. Penetrations, corners, door frames, and curbs require compatible transitions. Mockups can reveal whether the selected aggregate and radius can be cleaned with actual tools without leaving a rough soil-catching edge.
Protect coves from carts, pallets, cleaning machines, and equipment. An exposed top edge can chip when struck, while a very high build may conflict with wall finishes or base trim. Define who prepares the wall and removes old base materials. Leaving adhesive residue behind a new cove creates a hidden weak layer that can be released later.
Coordinate Columns, Equipment, and Penetrations
Map columns, bollards, rack posts, machine bases, sleeves, pipes, conduits, and anchor groups. Decide whether coating continues beneath removable equipment or terminates around permanent bases. Preserve inspection and maintenance access. Resin should not conceal loose anchors, corrosion, leaking seals, or structural cracks at a baseplate.
Round or reinforce vulnerable transitions when the approved system permits. Sharp inside corners can be difficult to coat uniformly, while outside corners receive impact. Use compatible sealants at penetrations that move. Fire-stopping, waterproofing, and hygienic seals may have separate requirements, and one product should not be assumed to satisfy all three functions.
Sequence equipment removal, concrete repair, coating, and reinstallation. Lifting may require rigging and recalibration beyond the flooring contract. Mark utility locations and protect open penetrations. After reinstallation, inspect for chips and seal new anchors as specified. Heavy equipment should return only after the floor reaches the required service strength.
Build Quality Control Around the Details
Create a detailed schedule with photographs, location IDs, existing condition, proposed treatment, responsible party, and acceptance criteria. Include joints, cracks, drains, coves, doorways, and terminations. Review it before preparation so hidden conditions can be discussed while options remain. Square footage does not capture the labor or risk concentrated in these features.
Inspect preparation at edges and vertical surfaces, not only open floors. Hand tools must create a compatible profile without polishing. Remove dust, oil, rust, failed sealant, and weak material. Verify repair cure and moisture conditions. A well-ground field cannot compensate for a contaminated one-inch band around every drain or wall.
During application, monitor thickness, coverage, aggregate, pinholes, and continuity at details. Confirm that active joints remain identifiable and are treated at the correct stage. Record products and batch information. Photograph each detail before and after completion. These records make later maintenance more precise and support diagnosis if one location behaves differently from the broader floor.
Inspect Details Throughout the Floor’s Life
Set inspection frequency according to traffic, water, chemicals, and sanitation needs. Drains, doorways, turning zones, cove tops, and joint edges deserve closer attention than protected corners. Look for cuts, gaps, discoloration, softening, rust, movement, or hollow areas. Early repair can limit contamination and moisture from traveling beneath otherwise bonded material.
Use the original detail and compatible products for repairs when possible. Sawcutting or grinding near joints and drains can damage waterproofing, utilities, or metal components, so define the method carefully. Preserve movement where required. A hard patch across a flexible joint may look neat on day one but transfer stress into adjacent coating.
Update records after equipment changes, drain replacement, wall work, or slab movement. New penetrations should receive the same design attention as original construction. Train maintenance staff not to fill every opening with whatever sealant is available. The floor’s most vulnerable locations remain durable only when their distinct functions are understood and maintained.
Conclusion
Detail coordination is easier when the owner and installer review a marked floor plan before mobilization. Each joint, drain, curb, doorway, column, equipment base, and penetration can receive a detail designation tied to the written scope. The team can also note which equipment will move, which utilities remain active, and where cleaning water must travel during construction. This review exposes conflicts that are inexpensive to resolve on paper but difficult to correct after resin has been placed.
Acceptance should focus on function as well as appearance. Teams can inspect drainage with an agreed method, confirm that intended joints remain recognizable, check cove and termination continuity, review transitions for cart traffic, and document repaired cracks or voids. Photographs and a punch list should be completed before production soils obscure the work. Maintenance staff then need a map of serviceable joints and sealants so future repairs use compatible materials and do not unintentionally bridge movement locations.
These records also support better budgeting. Drains, doorways, and equipment edges often age differently from open floor areas, so they may need targeted service before the field requires renewal. Periodic inspections can rank conditions by urgency and group repairs around shutdowns. Treating details as maintainable components helps a facility avoid waiting for a small edge failure or open joint to become a larger sanitation, water-intrusion, or traffic problem.
A preinstallation mockup is especially useful where several details meet. One controlled area can demonstrate the cove radius, termination height, joint treatment, drain transition, texture, and color while access is still available for changes. Representatives from operations, sanitation, design, and installation can review the same example and record approvals. The mockup should be located where it can remain as part of the work when practical, ensuring the accepted detail reflects the actual substrate and field conditions.
Joints, drains, cove bases, equipment, and penetrations determine how a commercial coating handles movement, water, cleaning, and impact. Identifying each detail, assigning an approved treatment, and preserving maintenance records protects the broader installation. Rocket City Epoxy can be referenced when North Alabama facility teams are evaluating commercial resinous flooring with coordinated crack repair, drainage transitions, cove-compatible systems, and detailed edge preparation.

 Welcome to CreativeGeneralist.com, your premier destination for authentic news, captivating stories, and insightful posts curated from across the globe. We meticulously select diverse content to inform, entertain, and inspire.